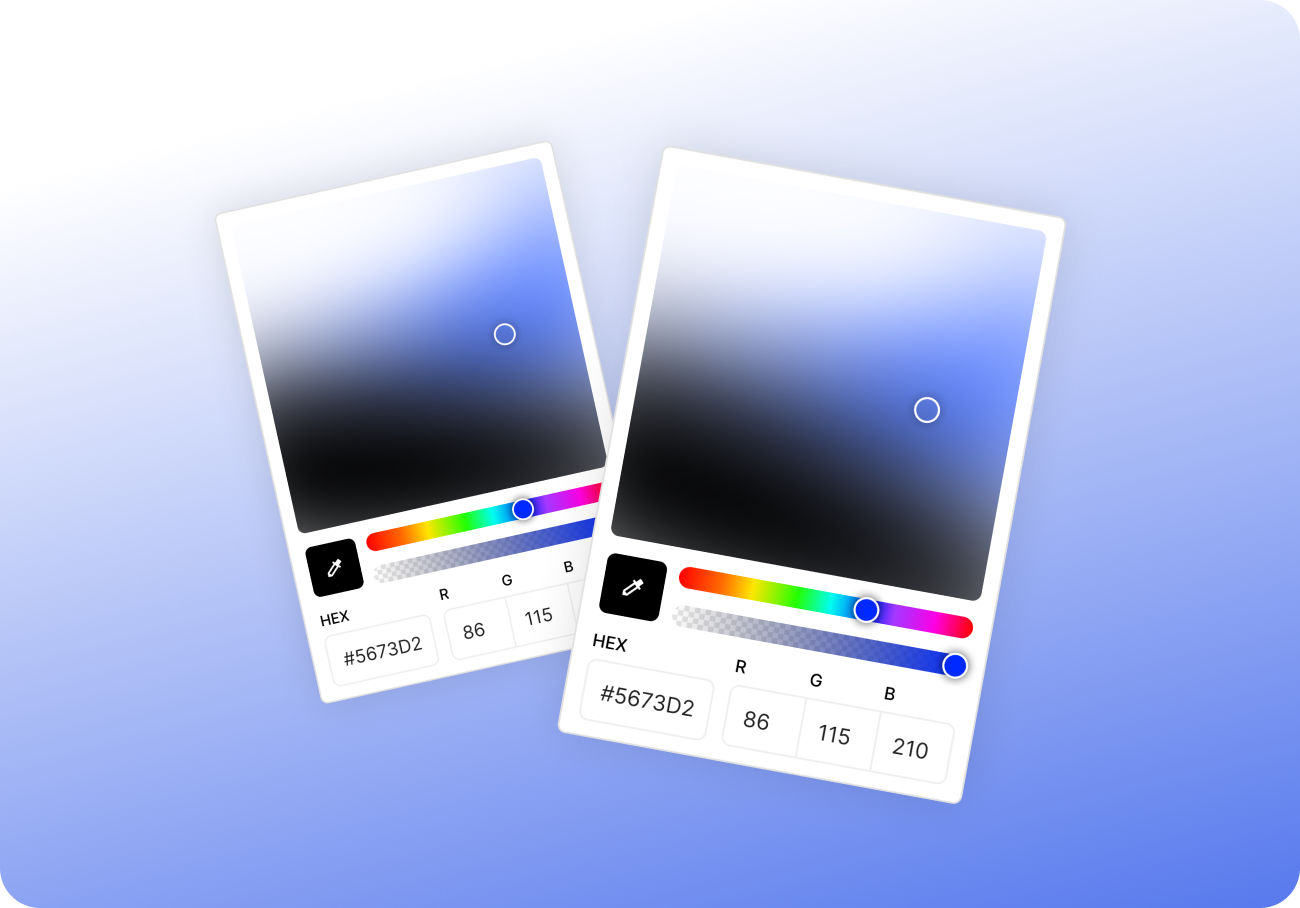

You’re reviewing a UI layout and something feels off.
The button looks too close to the icon.
The section title seems slightly lower than the one above.
You start squinting, nudging the window, zooming in…
It’s a common problem: how do you check the actual pixel distance between two elements on the screen — especially when you don’t have access to the design file or can’t inspect the DOM?
In this article, we’ll walk through why this happens, real examples of layout misalignment, and how you can measure spacing directly — using simple, accurate visual tools like Pixsnip’s built-in ruler and magnifier.
Why Pixel Distances Matter
In modern UI, visual alignment isn’t just a “nice-to-have” — it defines clarity, consistency, and polish.
Even 2–3 pixels of difference in spacing can break the rhythm of a layout or make two buttons feel visually unbalanced. When teams skip accurate spacing checks, you get:
- Components that drift over iterations
- Broken responsive behavior
- Visual bugs that survive testing
- Feedback loops like “It just looks off…”
The worst part? These are hard to prove without pixel-level measurement.
Common Scenarios Where You Need It
- 🔍 QA is testing the same component across browsers
- 🎨 A designer is reviewing dev implementation against mockups
- 🔄 A PM is reviewing new UI versions without Figma access
- 📸 You’re annotating screenshots for a design system audit
- 🧩 You want to compare two versions of the same screen
In each case, being able to drag a ruler and get a number (not a guess) saves everyone time — and makes feedback more objective.
How Pixsnip Helps You Measure Pixel Distances
Pixsnip is a local screenshot and annotation tool that’s built for visual precision. It includes a native pixel ruler you can use directly on any screen or captured image.
The Built-in Ruler
- Click and drag to measure the distance between two points
- Shows horizontal and vertical distances in real time
- Works on screenshots and live screen captures
- Snap-aligns to edges with subpixel precision
- Supports dragging from inside magnified zones
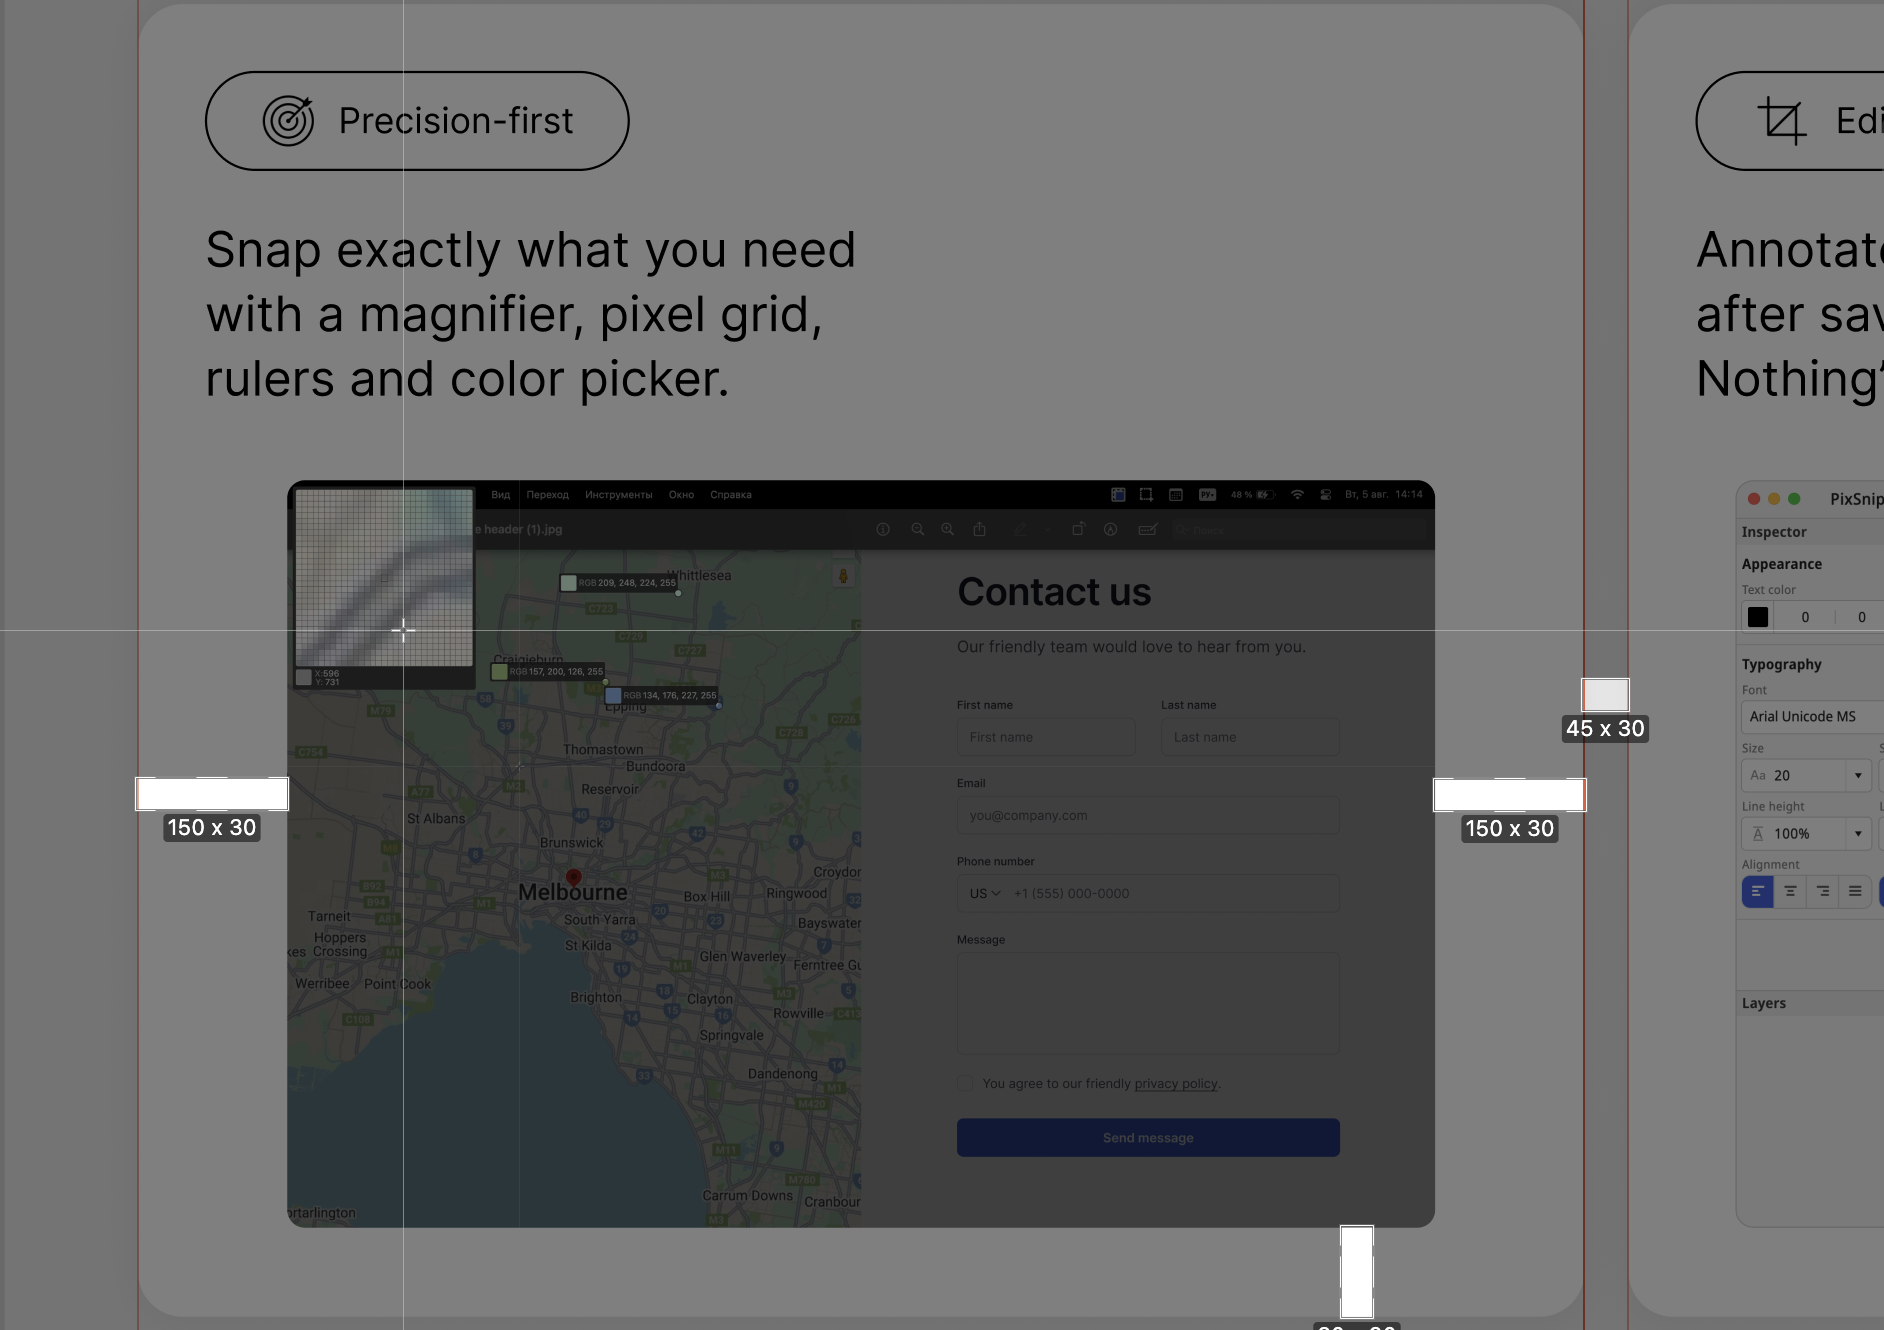
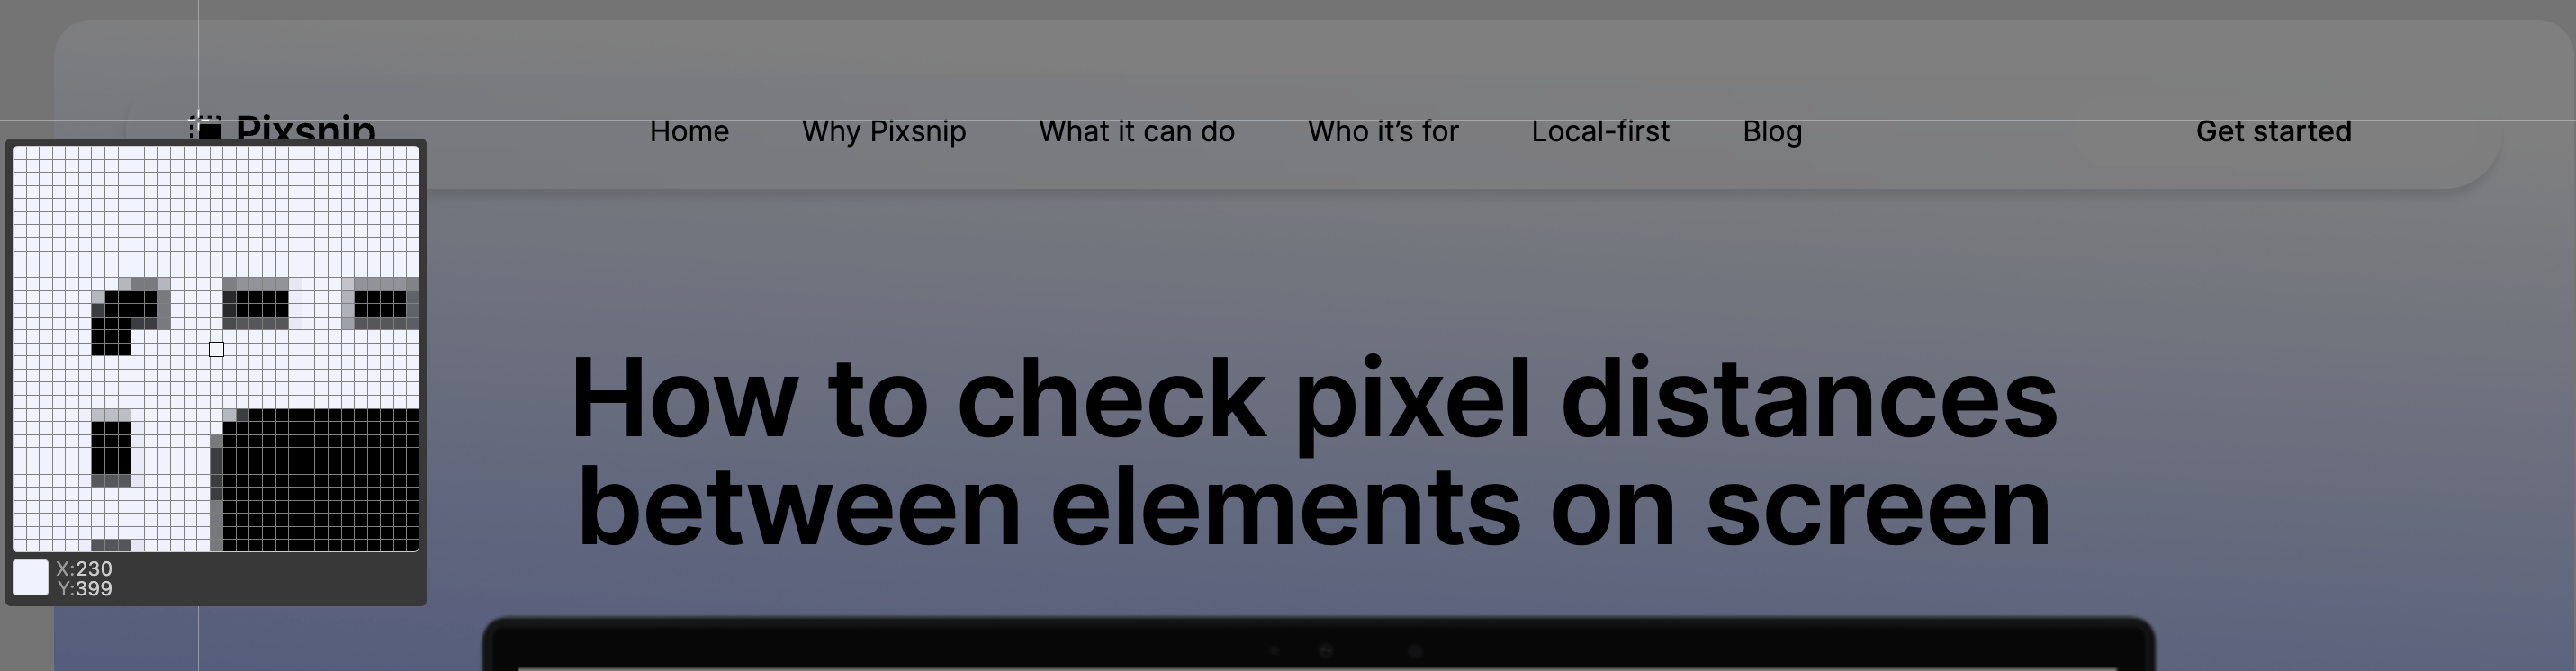
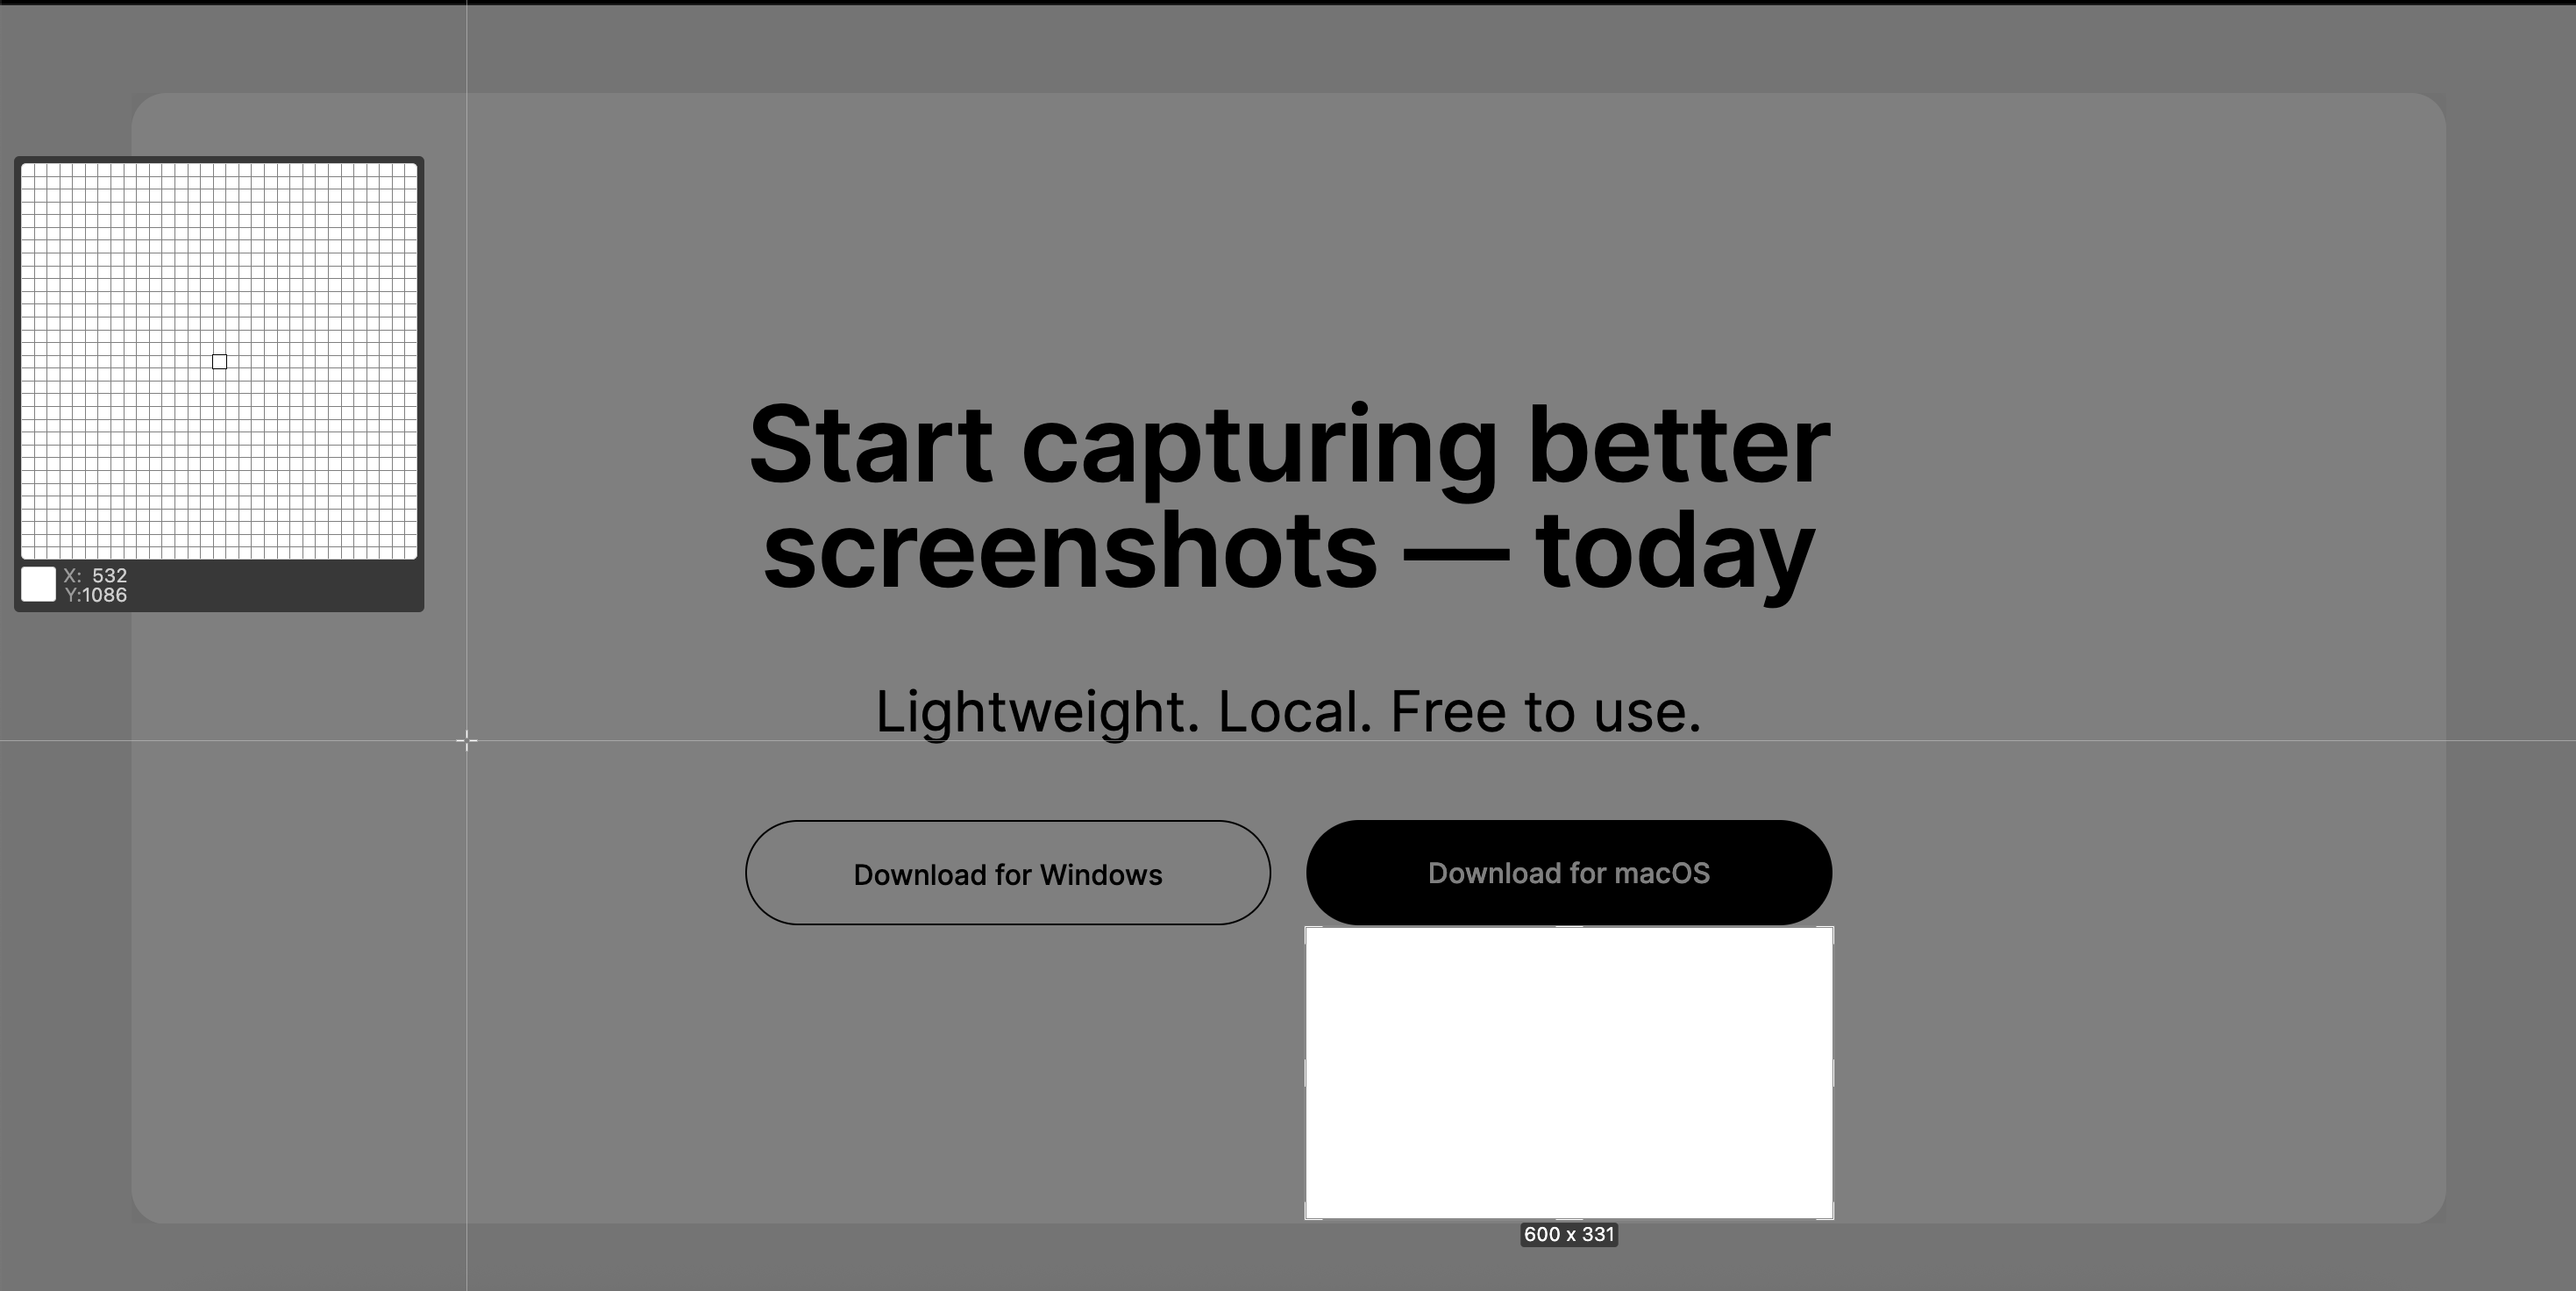
Integrated Magnifier
- Shows zoomed-in pixel view around your cursor
- Makes it easier to align the ruler start/end to exact edges
- Great for fine alignment, corner rounding, and padding checks
Bonus: Save and Annotate
Once you’ve measured a distance, you can:
- Take a screenshot with the ruler visible
- Add labels or arrows for context
- Save it in Pixsnip’s screenshot history
- Export as a reference for bug reports, docs, or team reviews
It’s fast, local, and doesn’t require cloud logins or file juggling.
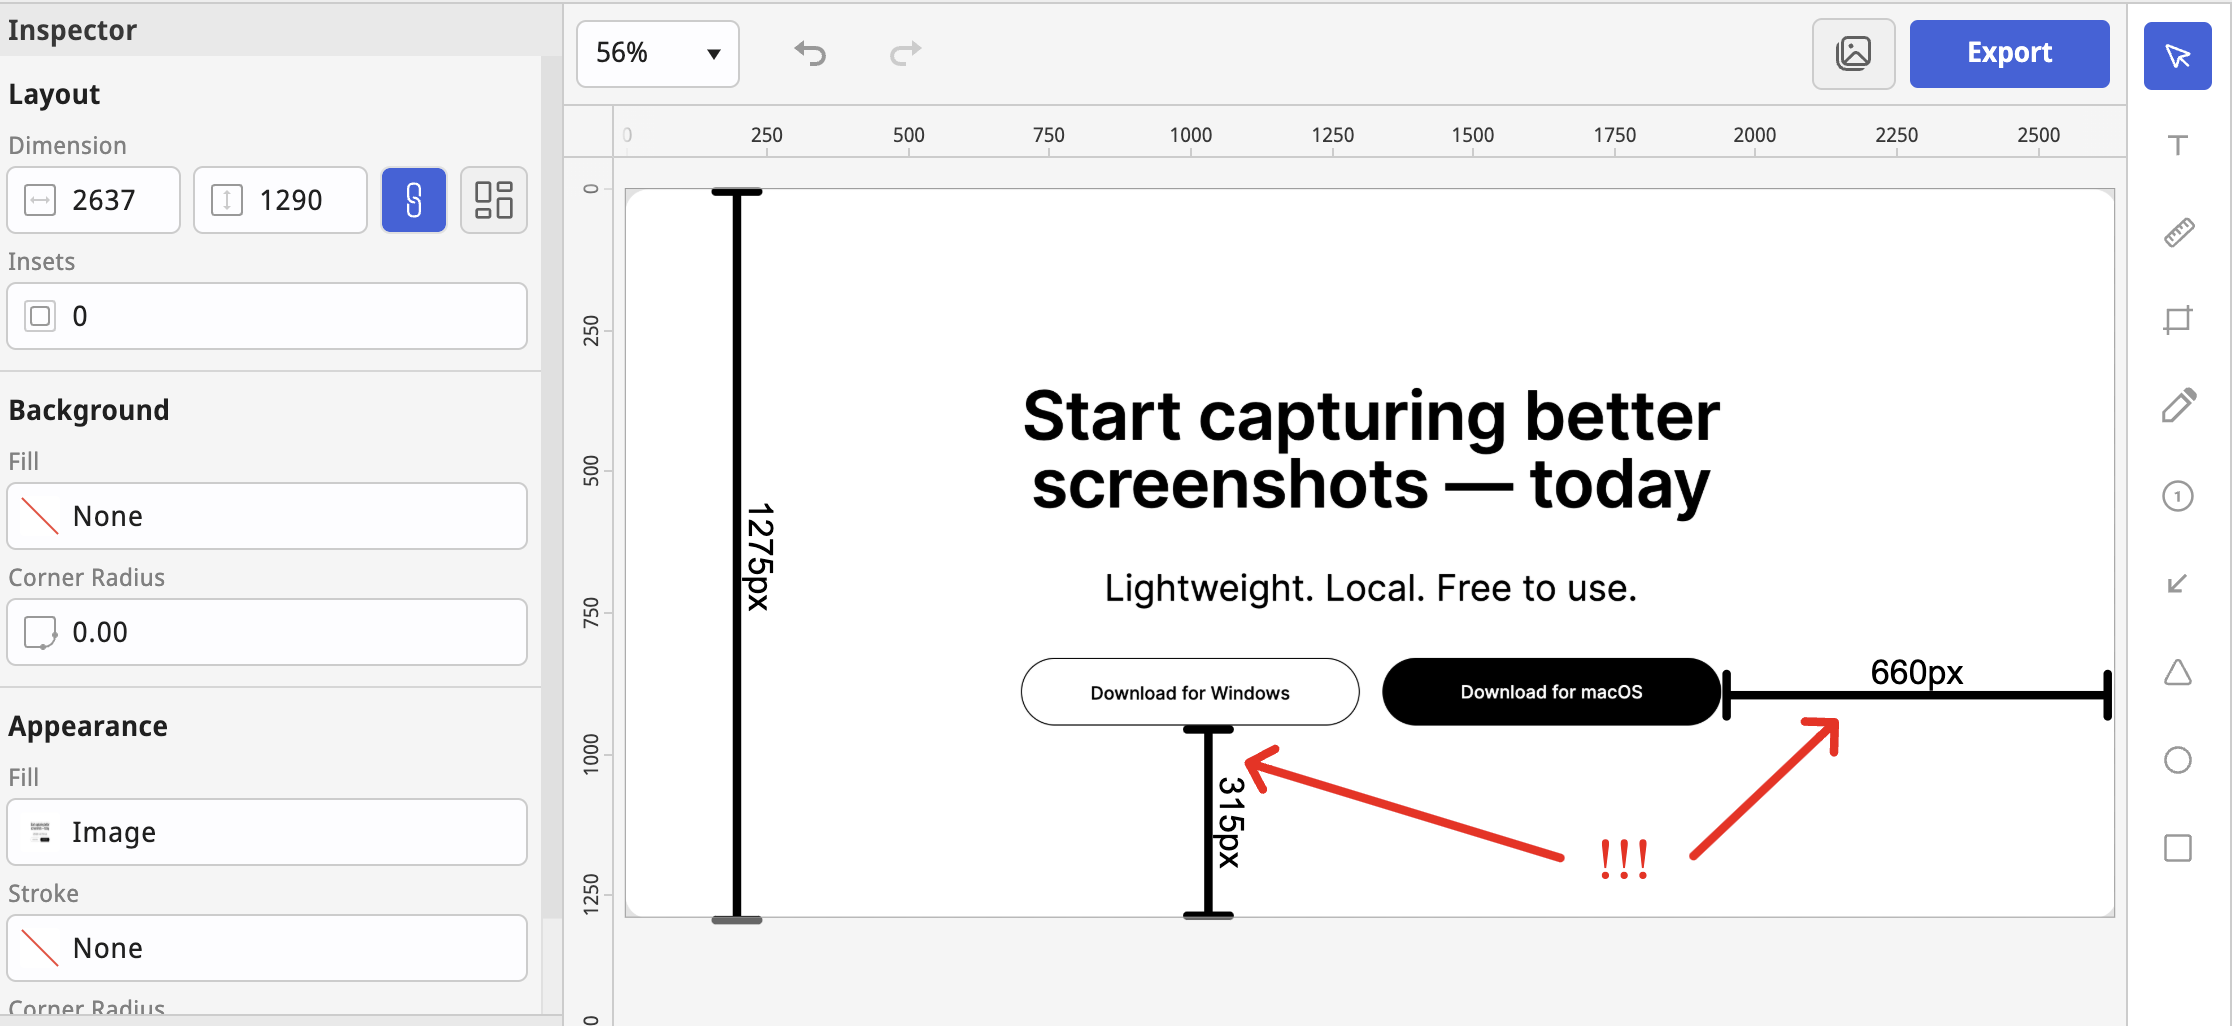
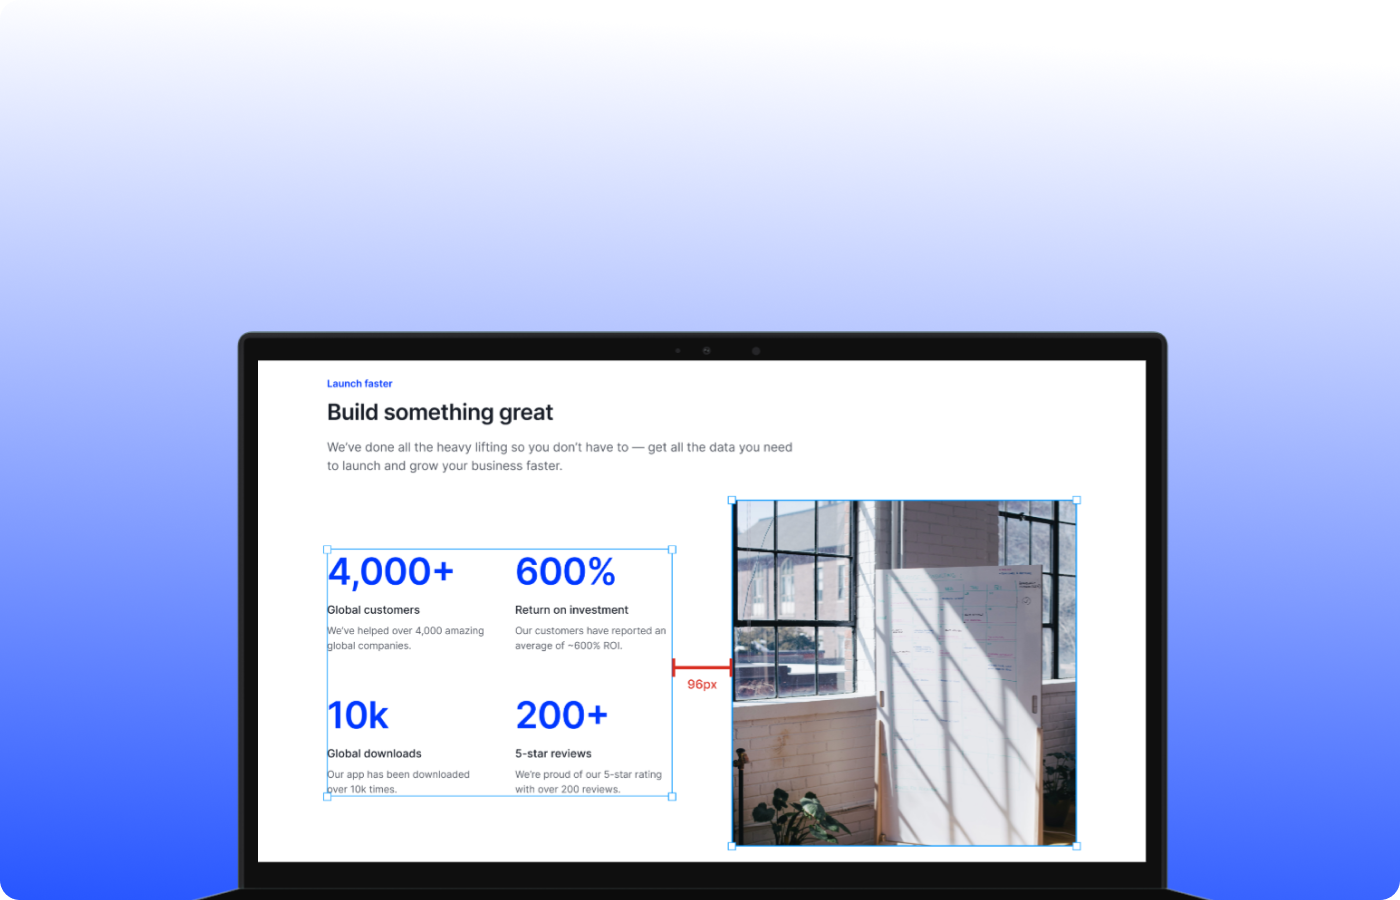
Real Example: Design-to-Dev Check
Let’s say your dev build is live, and you’re checking how close a button sits to the paragraph above it.
In Pixsnip:
- Launch the ruler
- Drag from the bottom of the paragraph to the top of the button
- See the exact vertical spacing (e.g. 16px)
- Compare it to your spec
- Annotate directly, if needed
No need to re-export Figma, inspect CSS, or zoom manually.
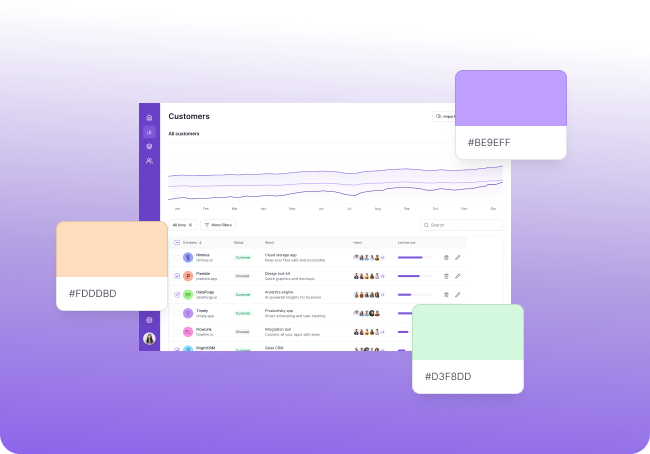
Real Example: Auditing Screenshot Consistency
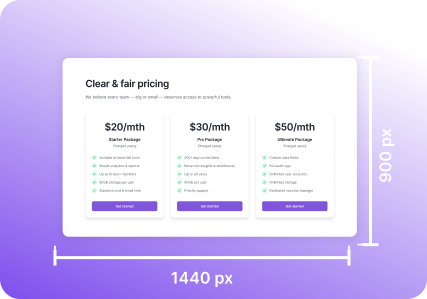
You're preparing onboarding slides and want all screenshots to align to a consistent inner padding — say, 24px from the edge.
With Pixsnip:
- Open your saved screenshots from history
- Use the ruler to measure the padding on each side
- Crop or adjust spacing where needed
- Save consistent results, ready to present
Why This Saves More Than Time
Checking spacing with confidence reduces:
- Back-and-forth debates
- Subjective feedback
- Invisible errors in production
- QA confusion
More importantly, it helps your visual communication stay precise — even when working fast, across tools, or with screenshots.
TL;DR
- Visual alignment matters — and guessing doesn't help
- Measuring pixel distances manually is slow and frustrating
- Pixsnip gives you a fast, accurate way to check spacing on any screen
- Built-in ruler + magnifier = clean, confident layout reviews
👉 Download Pixsnip and stop guessing. Measure it once — and move on.