Turn scattered captures into clear, reusable guides
You’ve taken five screenshots.
Each shows one step of a UI, a state of a component, or a version of a layout.
You want to explain what’s happening — but separate files don’t tell a clear story.
So now what?
Open Figma? Drop them in Notion? Drag them into a slide deck?
That works. But it’s slow, messy, and easy to get wrong.
This article shows how to turn a screenshot series into one clean, visual flow — something that’s easy to read, reuse, and share. No design tools required. Just Pixsnip.
Why Screenshot Flows Are So Useful
They help you:
- Show a user journey or feature step-by-step
- Document UI changes across states
- Explain onboarding or error states
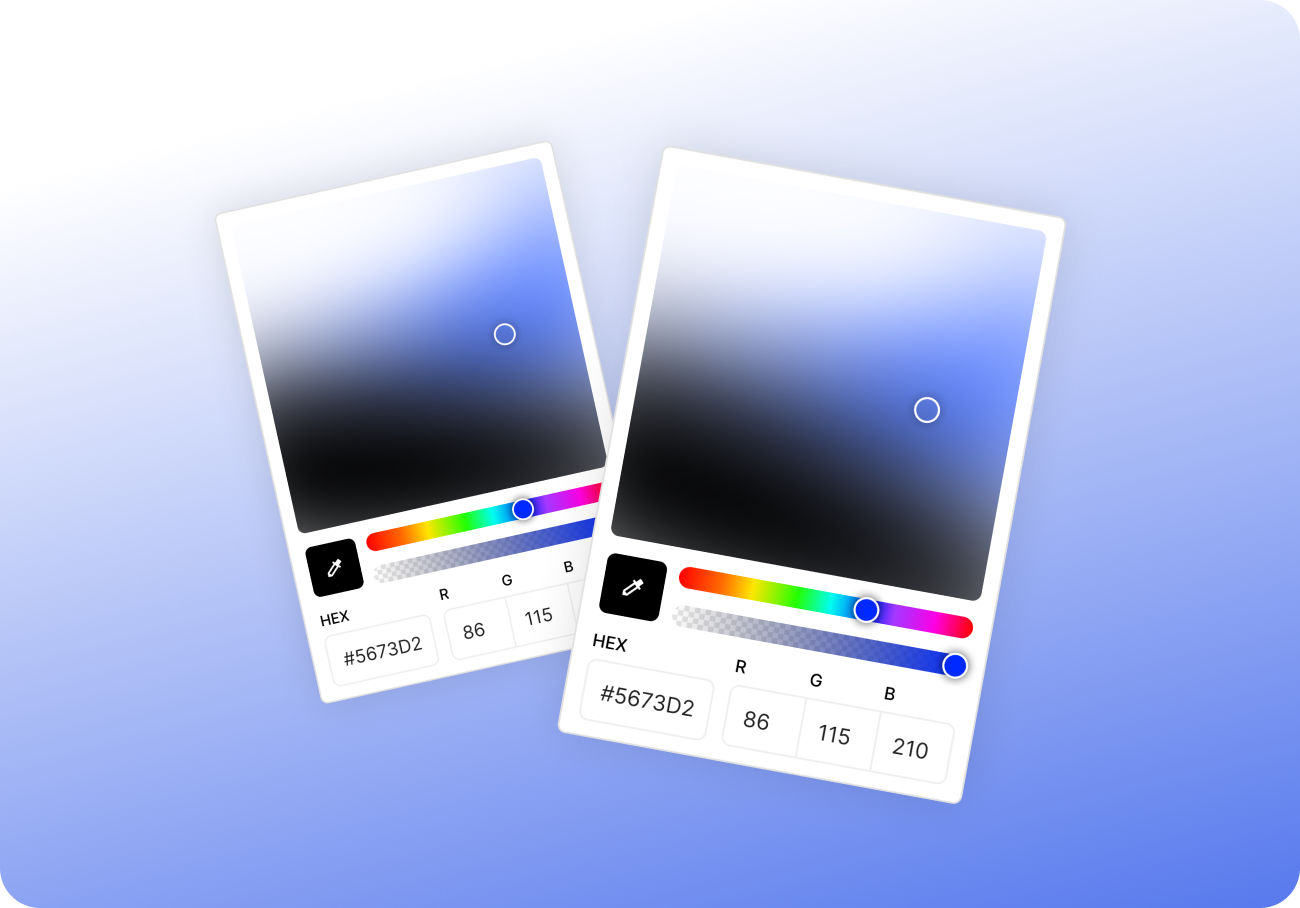
- Compare different versions of the same screen
- Present interaction logic or QA test results
In short, they communicate structure visually — better than words alone.
But if you rely on single screenshots scattered across a folder, your message gets lost.
Common (Painful) Approach
Let’s say you have:
- Screenshot of a login screen
- Screenshot of a dropdown
- Screenshot of a filled form
- Screenshot of the modal
- Screenshot of success message
Most workflows look like this:
- Open a design tool
- Drop all images in manually
- Resize and align each
- Add arrows, spacing, maybe text
- Export, then delete the mess later
You’re doing 5× more work than you need to — just to tell a linear story.
How Pixsnip Makes It Easier
Pixsnip is designed to make visual communication fast and clean.
Here’s how you can build a complete flow in one step:
1. Use Multi-shot to Capture the Whole Flow
→ Select several UI areas one after another
→ Capture all zones at once
→ Pixsnip generates a collage instantly — one image, multiple steps
Great for step-by-step guides and tutorials.
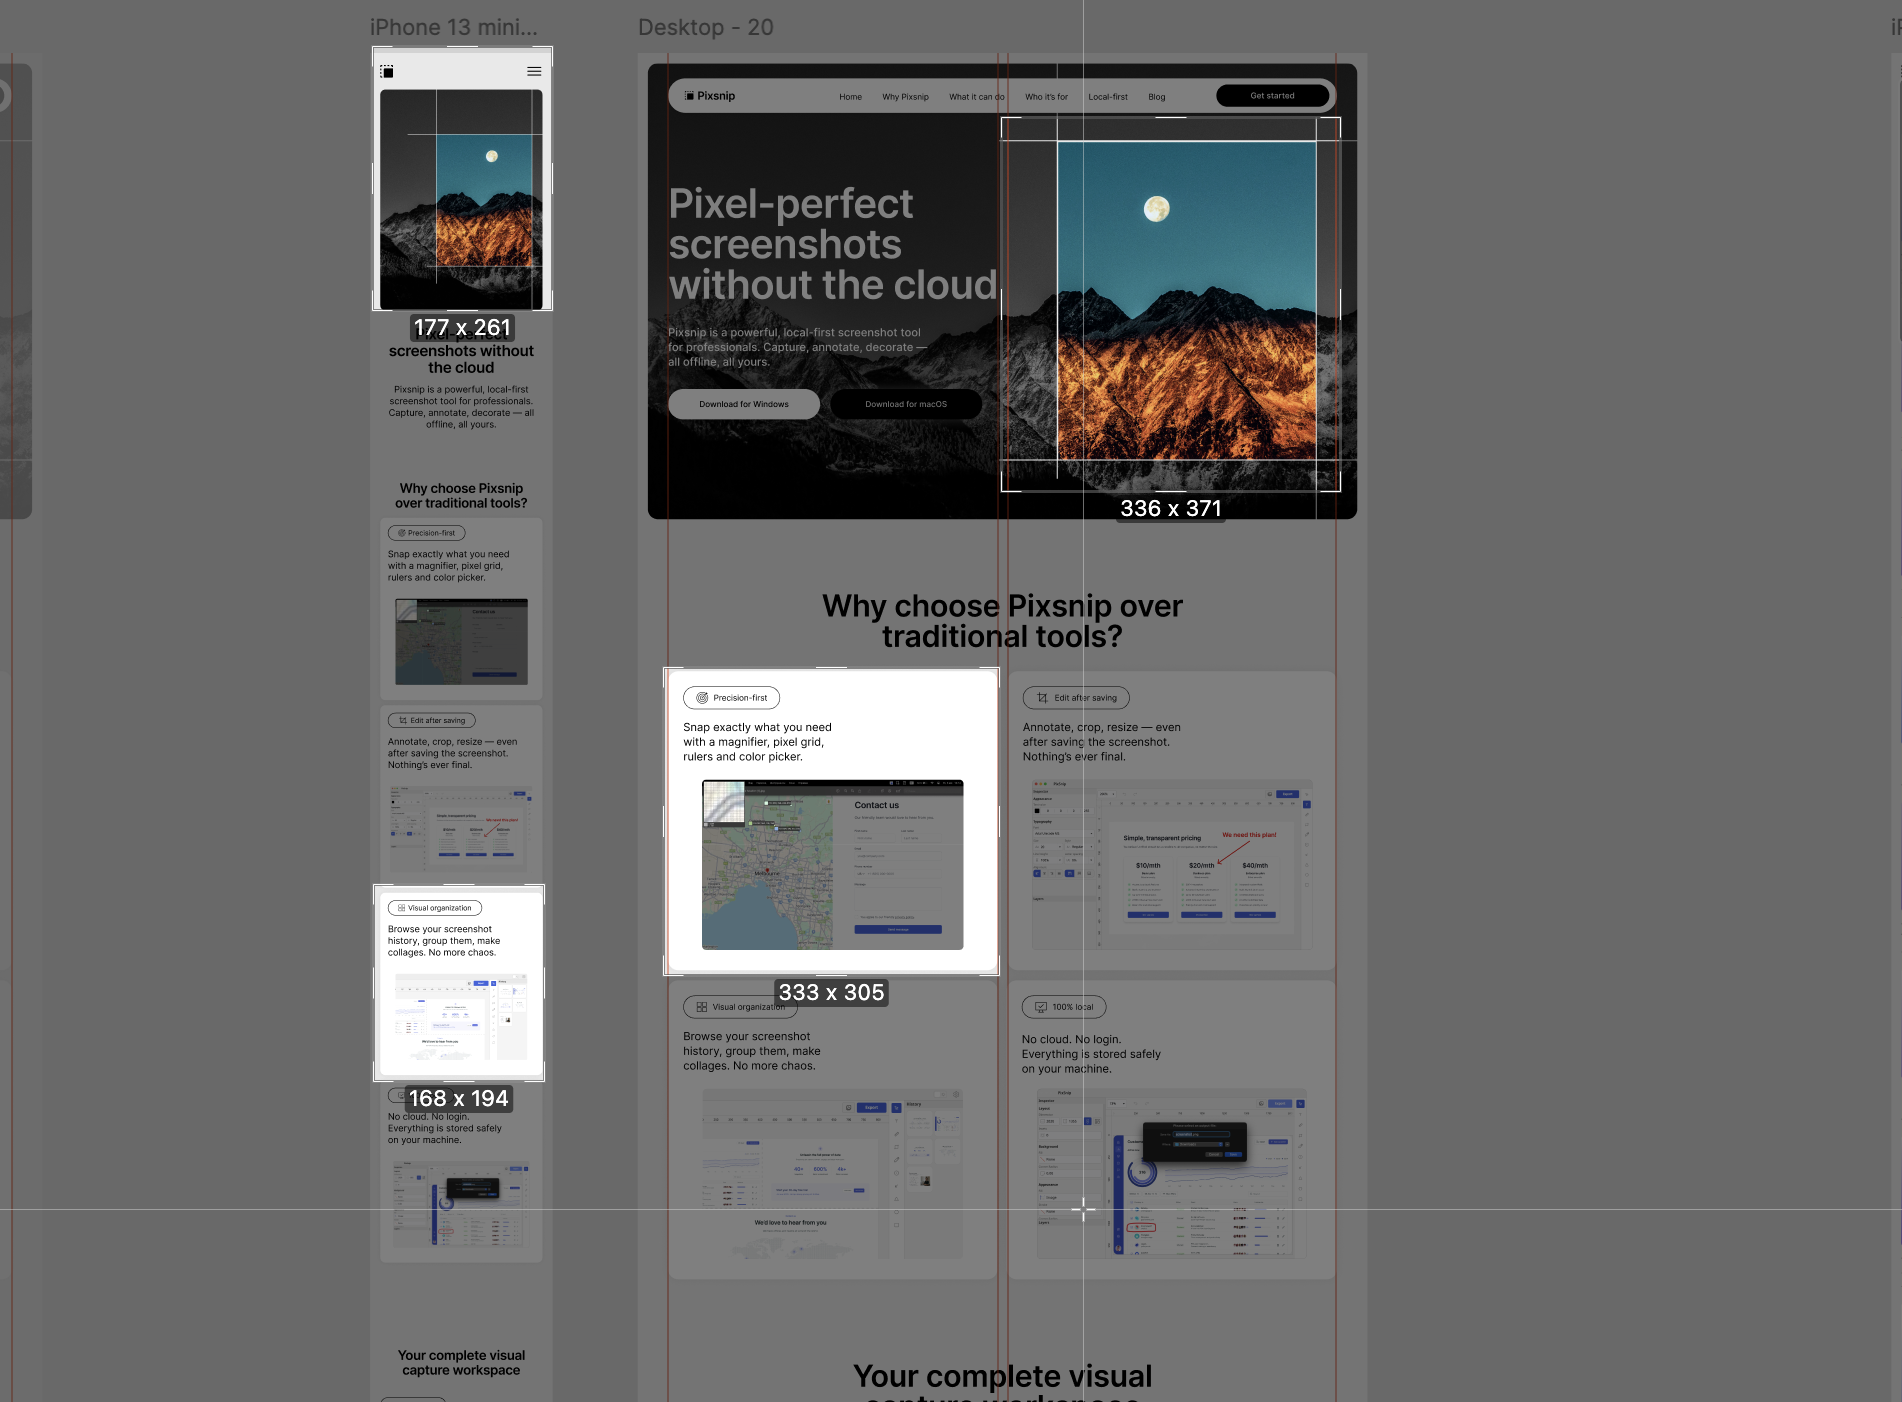
2. Combine Screenshots from Your History
Already took screenshots earlier?
→ Open Pixsnip history
→ Select any saved images
→ Add them to a new canvas
→ Rearrange freely, annotate, and export
This works well when you’re gathering screens across time — such as comparing design changes over weeks.
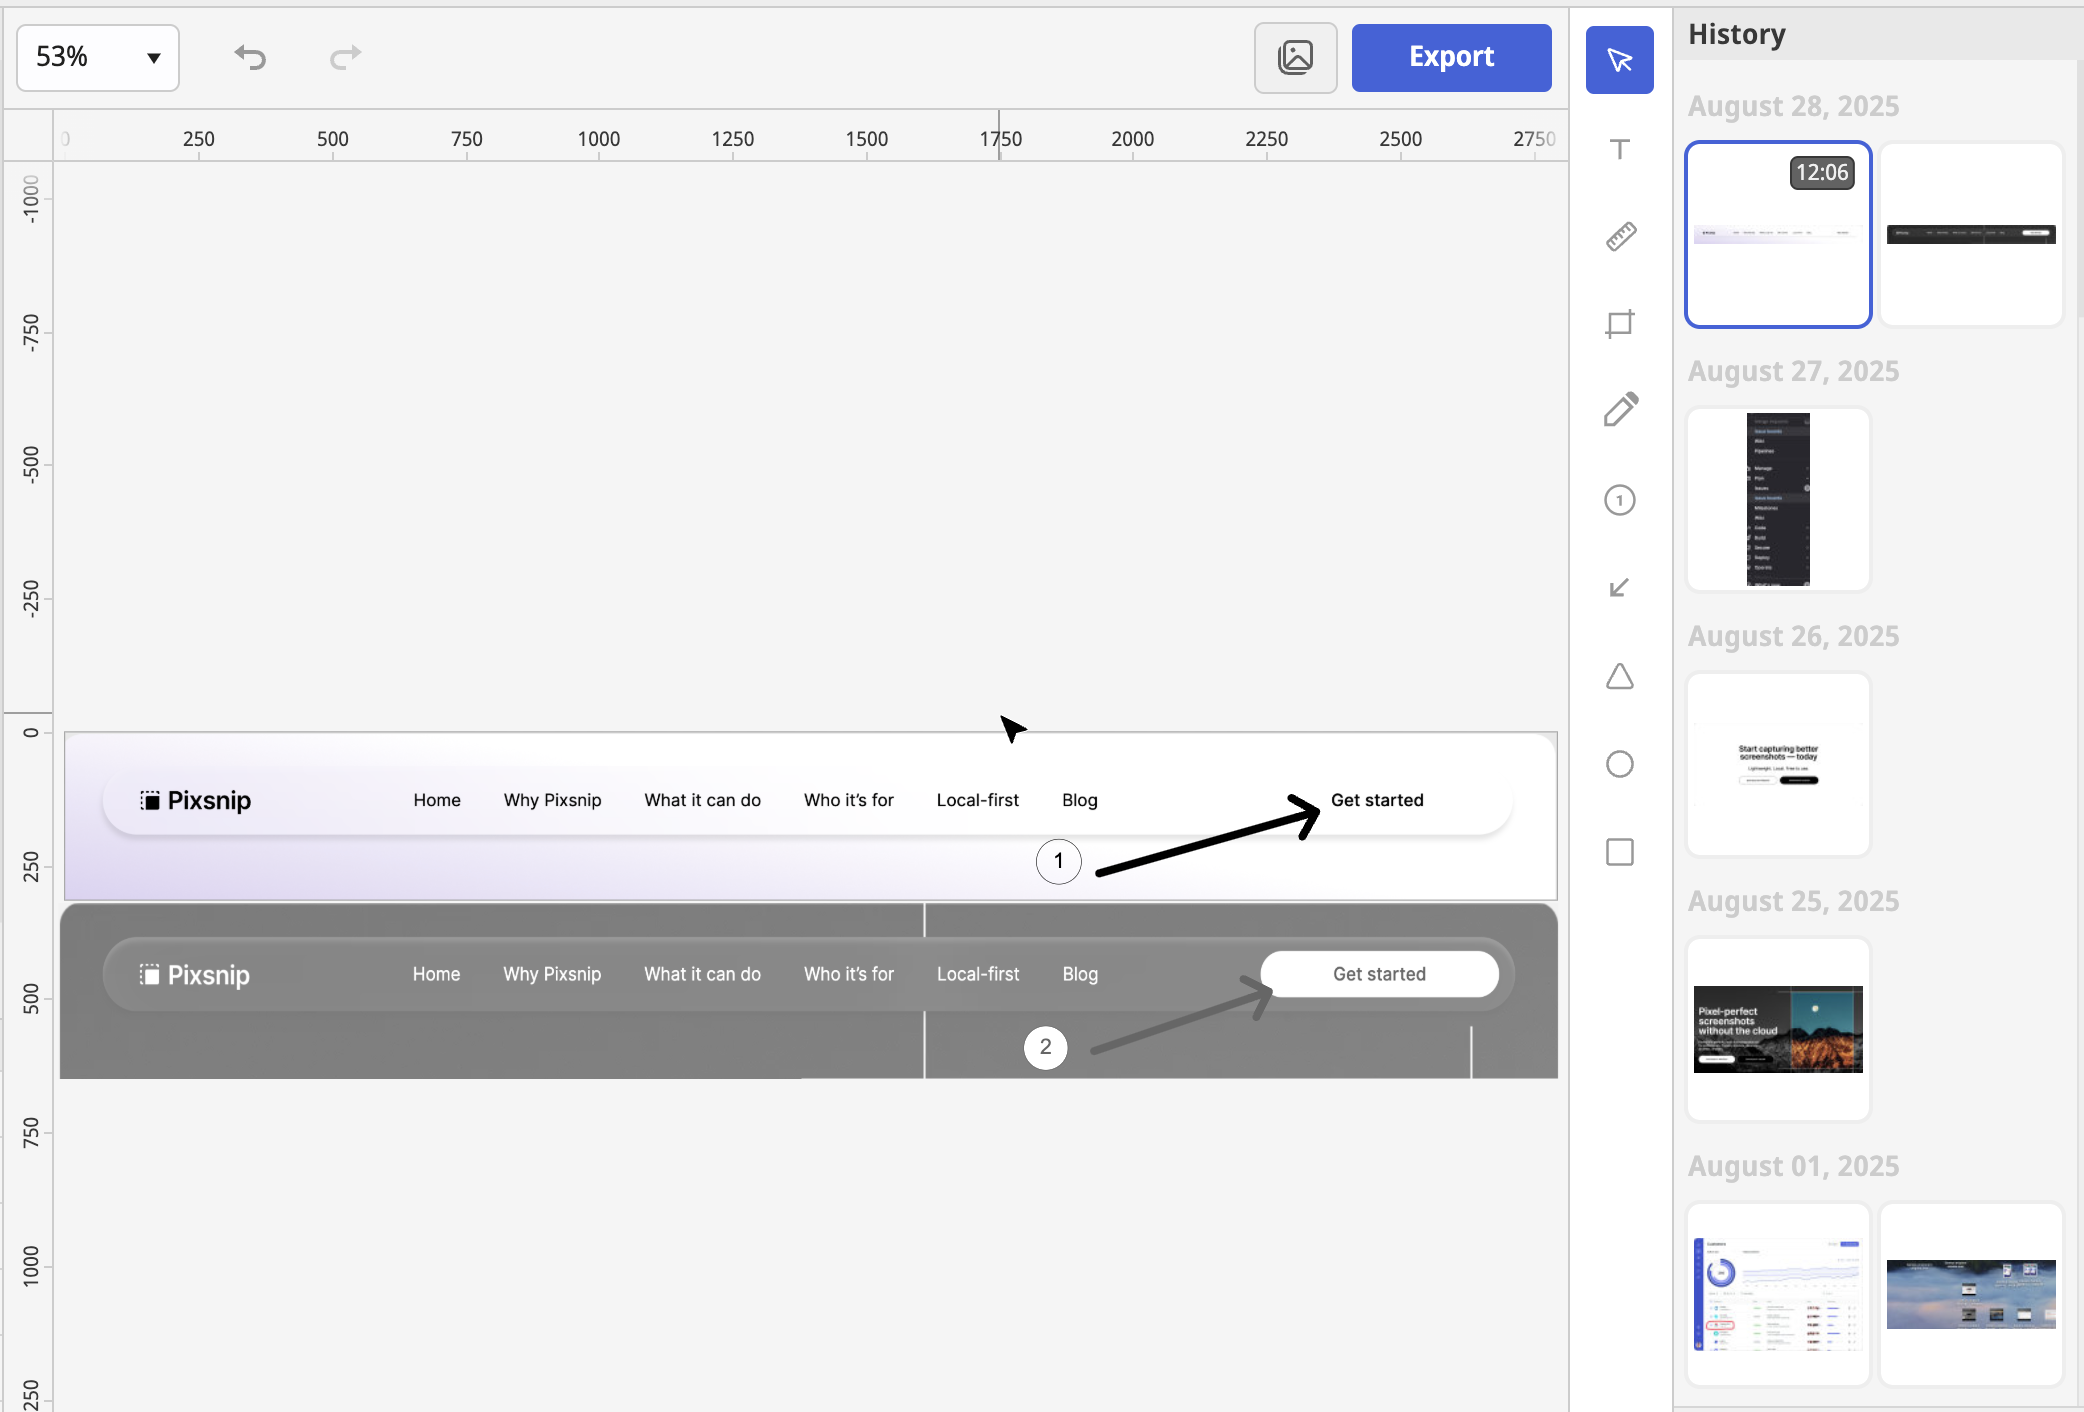
3. Decorate and Annotate Visually
Once you’ve created the flow, you can:
- Add arrows to show direction
- Insert step numbers or short labels
- Add spacing, background, rounded corners
- Choose horizontal or vertical layout
- Crop or zoom individual parts
Your flow looks clean and readable — without needing Figma or PowerPoint.
Real Use Case: UX Documentation
You’re writing internal documentation for a feature rollout.
Instead of describing five states in text:
- Capture each UI state
- Combine them in Pixsnip
- Add annotations or arrows
- Export and paste the result into Notion, Jira, or Slack
Your team understands faster. Less back-and-forth. Better retention.
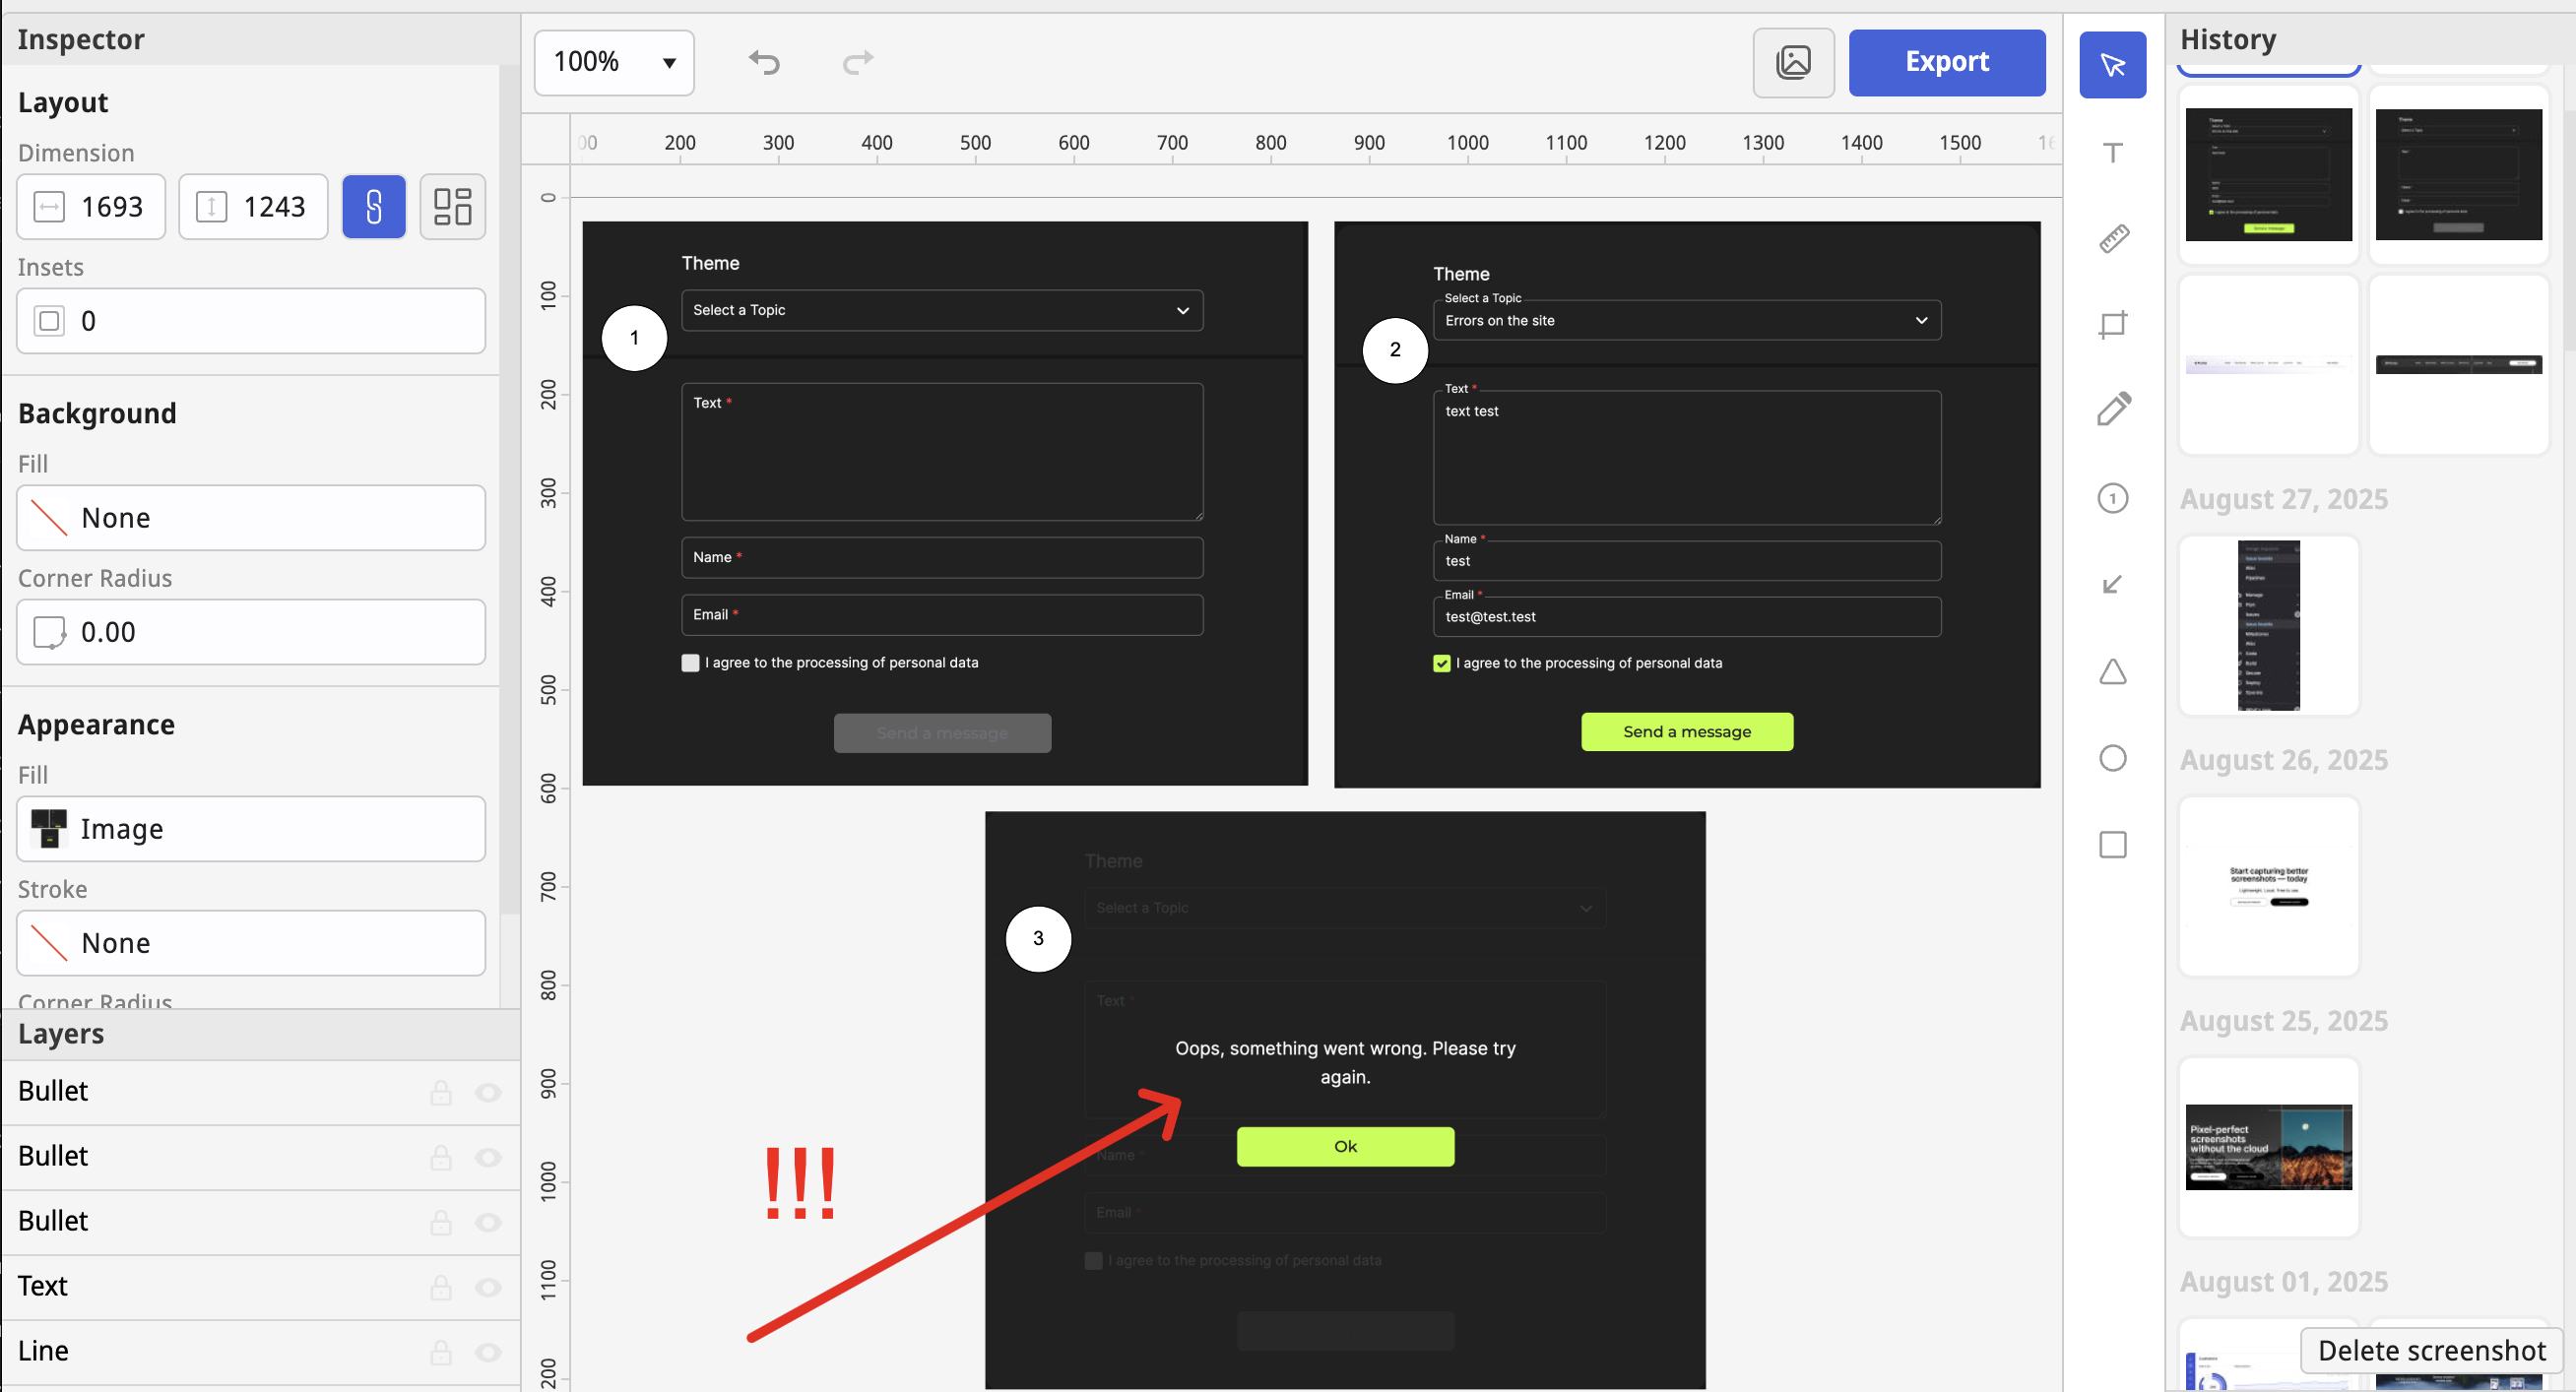
Use Case: Bug Reproduction Steps
QA finds a bug that takes three steps to trigger.
You need to show:
- The starting state
- The action
- The error result
With Pixsnip, you:
- Capture all three in one shot
- Add short captions below each
- Share the image directly with devs
Fewer questions. Faster fixes.
Why It’s Worth Doing
Creating clean visual flows doesn’t just save time — it builds understanding.
You make decisions visible. You give context to feedback.
And you reduce the mental load for teammates trying to “read between the pixels.”
Pixsnip helps you do this with zero overhead — it’s part of your screenshot workflow, not a separate step.
TL;DR
- Multiple screenshots = one story, if you present them well
- Pixsnip lets you combine, arrange, and annotate flows in one tool
- Use multi-shot or history to build step-by-step guides or comparisons
- No Figma, no slides — just one image that tells the whole thing
👉 Try Pixsnip and turn scattered screenshots into simple, useful visual flows.