Stop repeating yourself — take smarter screenshots
You need to document five steps in a UI.
Or highlight the same element across different states.
Or grab key parts of a long page without scrolling endlessly.
Most people solve this the hard way:
- Take one screenshot
- Take another
- And another…
- Then drag all five into a file
- Arrange, crop, label, clean up — maybe
By the end, you’ve lost 15–30 minutes doing something that should’ve taken two.
There’s a better way: multi-area screenshots.
Let’s talk about how this simple idea — capturing multiple zones at once — saves time, effort, and sanity.
The Problem with One-Screen-at-a-Time
Most screenshot tools follow the same model:
→ Select an area → capture → repeat.
But real work doesn’t always live in one tidy box.
You often need to:
- Show multiple interface components
- Compare design states
- Document a user flow across views
- Capture separate sections of one dashboard
- Grab several menu items or modals quickly
Doing this with one-shot tools leads to:
- Repetitive work
- Lost time arranging in Figma or PowerPoint
- Unnamed files in random order
- Tedious cleanup just to show what you meant
Pixsnip’s Multi-shot Capture: One Step, Multiple Results
Pixsnip solves this by letting you select several areas of the screen in one go. You draw one zone — then another — and another — and then hit capture. That’s it.
What Happens Next?
- All areas are captured simultaneously
- You get a combined collage by default
- You can rearrange or edit each shot individually
- You can add annotations across the whole or per area
- Each area is saved into your screenshot history, separately or together
No dragging, no slicing, no stitching.
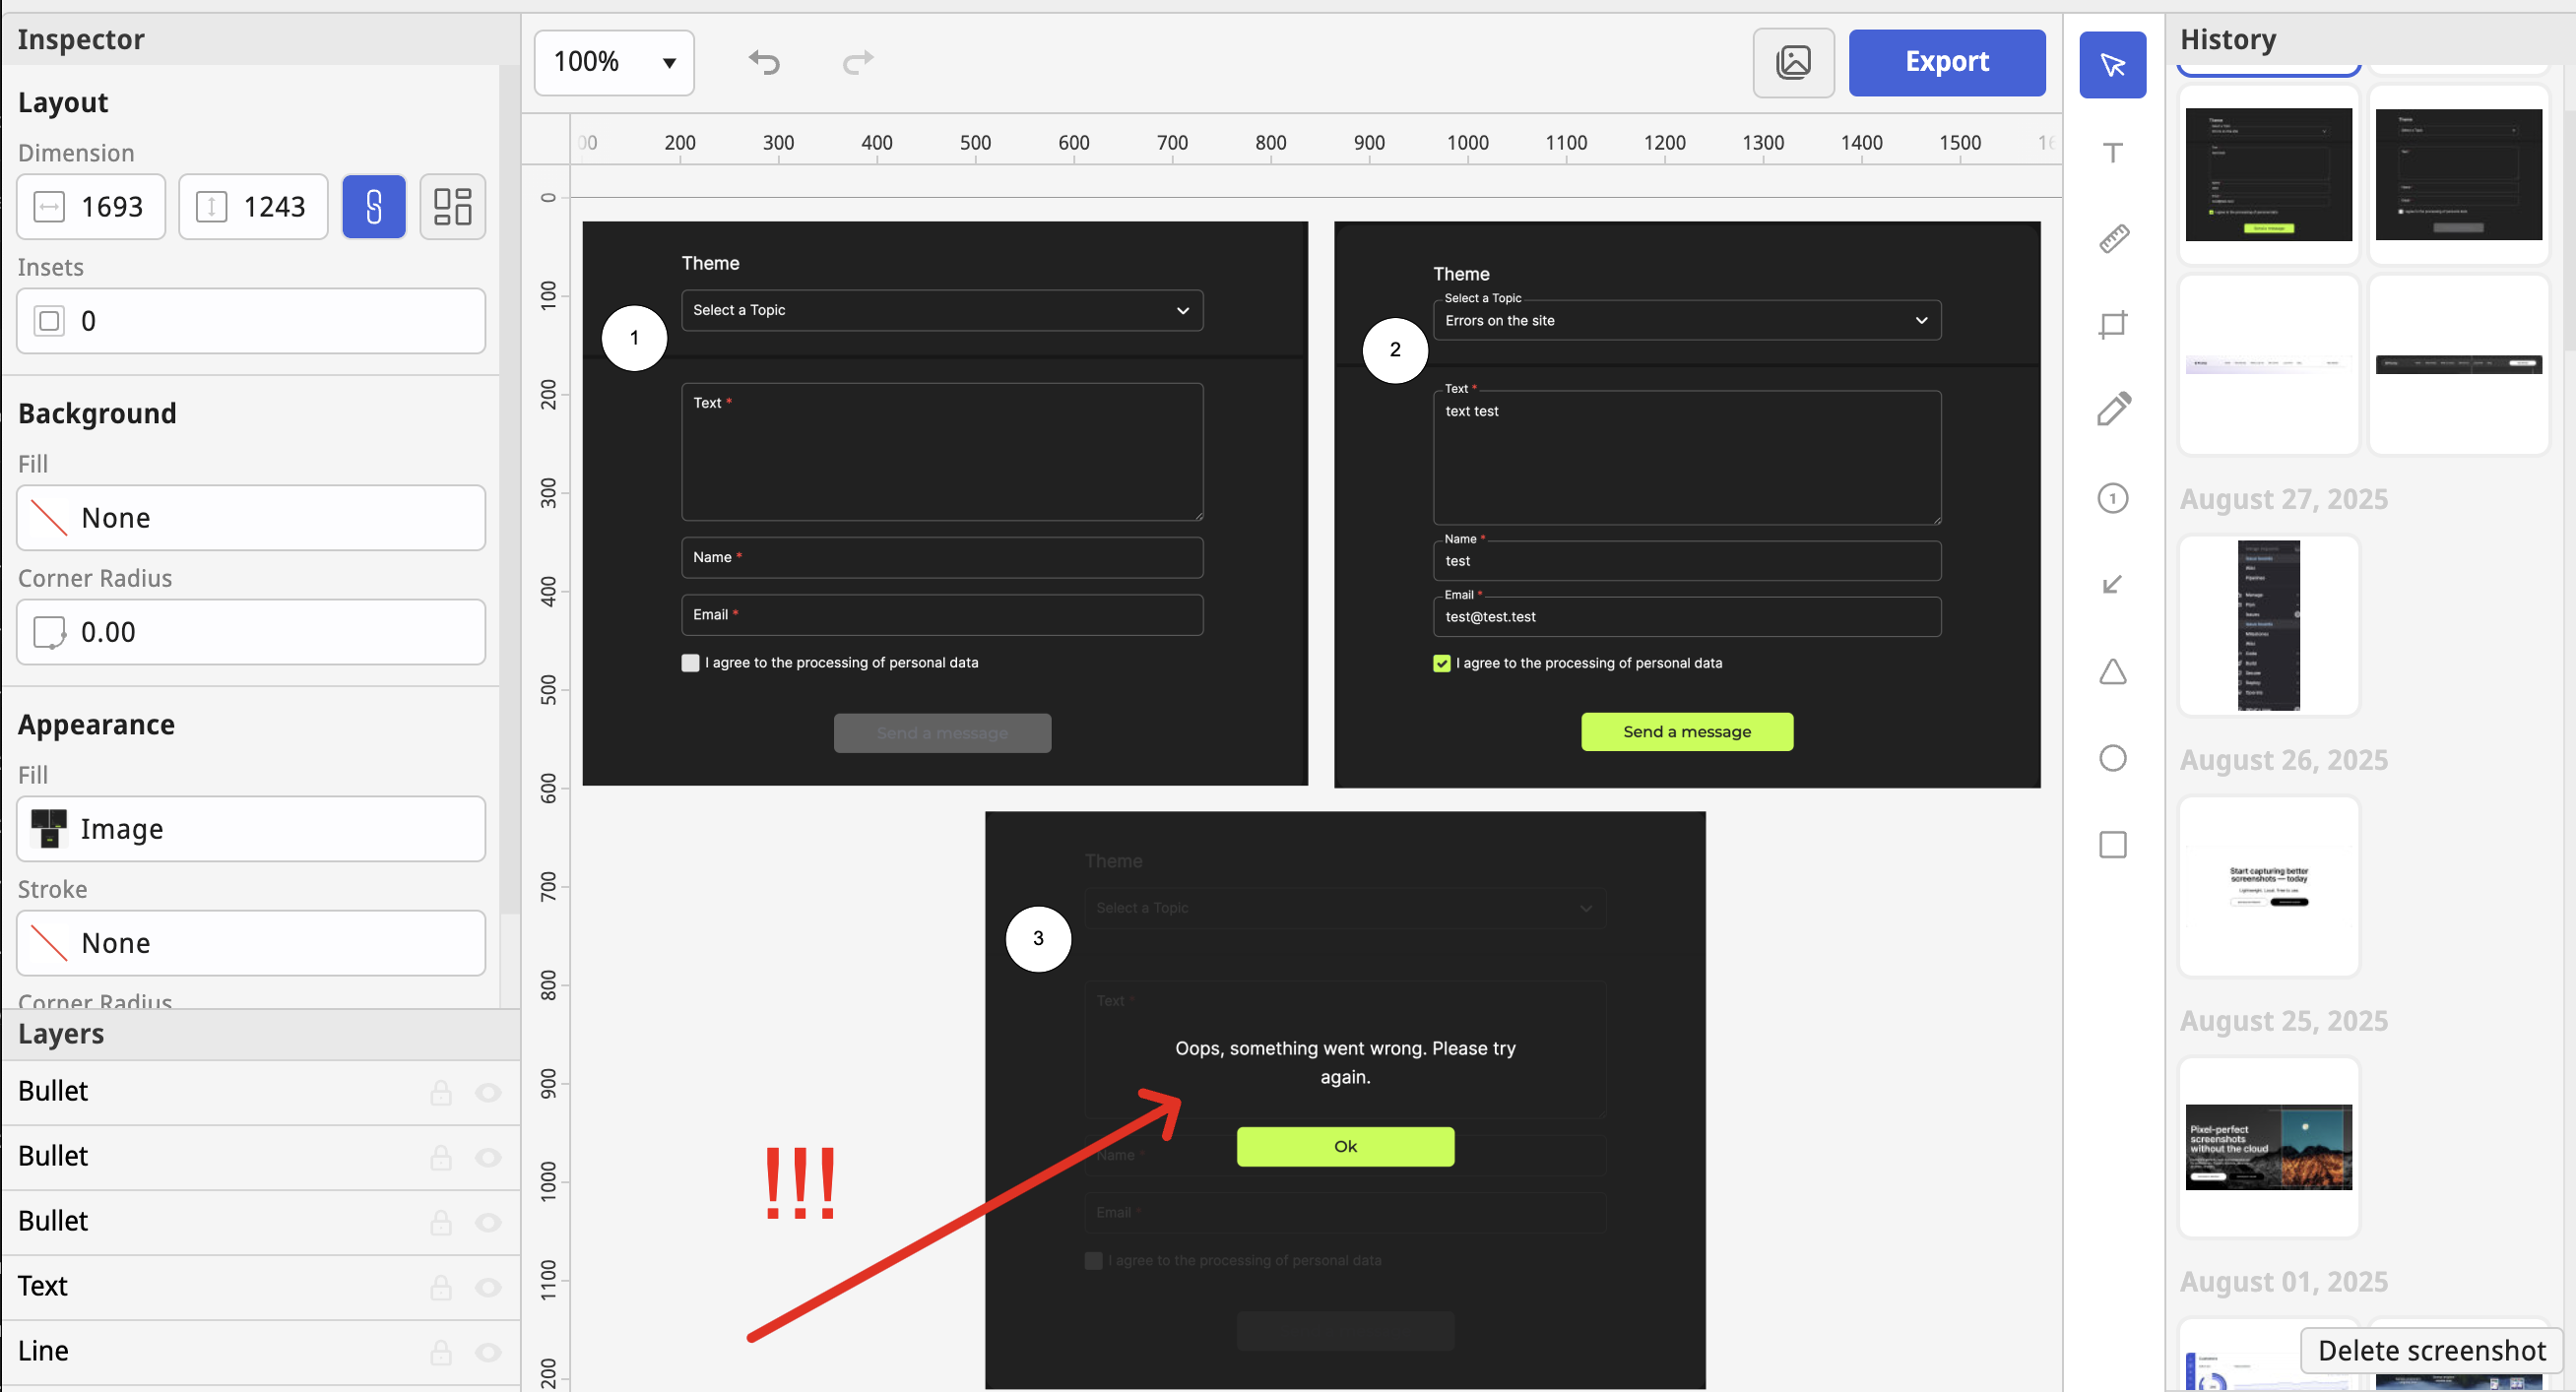
Real Use Case: Step-by-Step Flow
You’re documenting a 5-step flow:
- Step 1: form input
- Step 2: dropdown menu
- Step 3: confirmation state
- Step 4: modal window
- Step 5: success screen
With Pixsnip’s multi-shot:
- Select each area as you walk through the steps
- Capture all zones together
- Instantly annotate or number the steps
- Export as one clear visual flow
That’s 5 steps in one file — not five scattered screenshots.
Use Case: UI Comparison
Need to capture the same component across themes or languages?
- Open each version side by side
- Use multi-shot to select the matching areas
- Capture all at once
- Label, compare, and send without manual arranging
Great for QA, design reviews, or localization checks.
Other Benefits of Multi-shot
- Stay in flow — no stop/start for every screen
- Reduce mental load — no renaming, no guesswork
- Clearer documentation — everything is in one place
- More professional output — neater, faster, easier to understand
Pixsnip also lets you add:
- Annotations (arrows, steps, notes)
- Decorations (padding, background, rounded corners)
- Titles or labels per zone
So your result isn’t just fast — it’s presentable.
Why This Matters
Small UX tasks like screenshotting shouldn’t take big chunks of your day.
If you find yourself repeating the same workflow, the tool is probably the problem — not you.
Multi-shot capture is a quiet power feature that saves time every time you use it.
And with Pixsnip, it’s just built in.
TL;DR
- Traditional screenshots force you to repeat the same steps again and again
- Multi-shot lets you capture multiple screen areas at once — instantly
- Pixsnip combines, organizes, and annotates them for you
- It’s perfect for step-by-step flows, UI comparisons, or documentation
- Stop wasting time — start capturing smarter
👉 Try Pixsnip and do more with every screenshot you take.